The first impression of using Luminar 4
Not sure why I had Luminar 3, but I hadn't used it to the point that I didn't even remember having it. I have heard a lot about exciting things about Luminar 4, and with the upgrade pricing I could get, I decided to give it a try to see what's new and what's different from editing in Adobe Lightroom.
First, I tried to use it as a standalone app, created a new catalog, and added some photos I took. The program felt laggy and unresponsive. The situation did improve after a while, so I figured it was probably busy cataloging my images. I never have issues with Lightroom when creating a new catalog and importing photos, Luminar 4 still struggles to pull together thumbnails after a few usages.
Playing around with it, I noticed most of the shortcut keys are similar to Lightroom, which helps users like me adopt to it faster and easier. On the side panel, the program organizes my photos based on the time I took the pictures. Not sure if I like it this way since I shoot travel, photos, and many other different subjects, I don't really want to see them all mixed in one place.
When I tried to pull up a photo for editing, it does give me a pretty good starting point. The program automatically applies lens correction to RAW images. Usually, this is a good thing, as it can potentially save me some time. However, Luminar 4 seems to mess up with RAW files from some of my cameras. Pictures from my Sony RX100 M5 looks poorly distorted. At this point, I wanted to give up on them again.
Before I remove it from my computer, I thought I would try a different approach, and use it as a plugin program for Lightroom and Photoshop. It turned out to be so much better that way. It runs smoothly, and I was able to explore the features further.
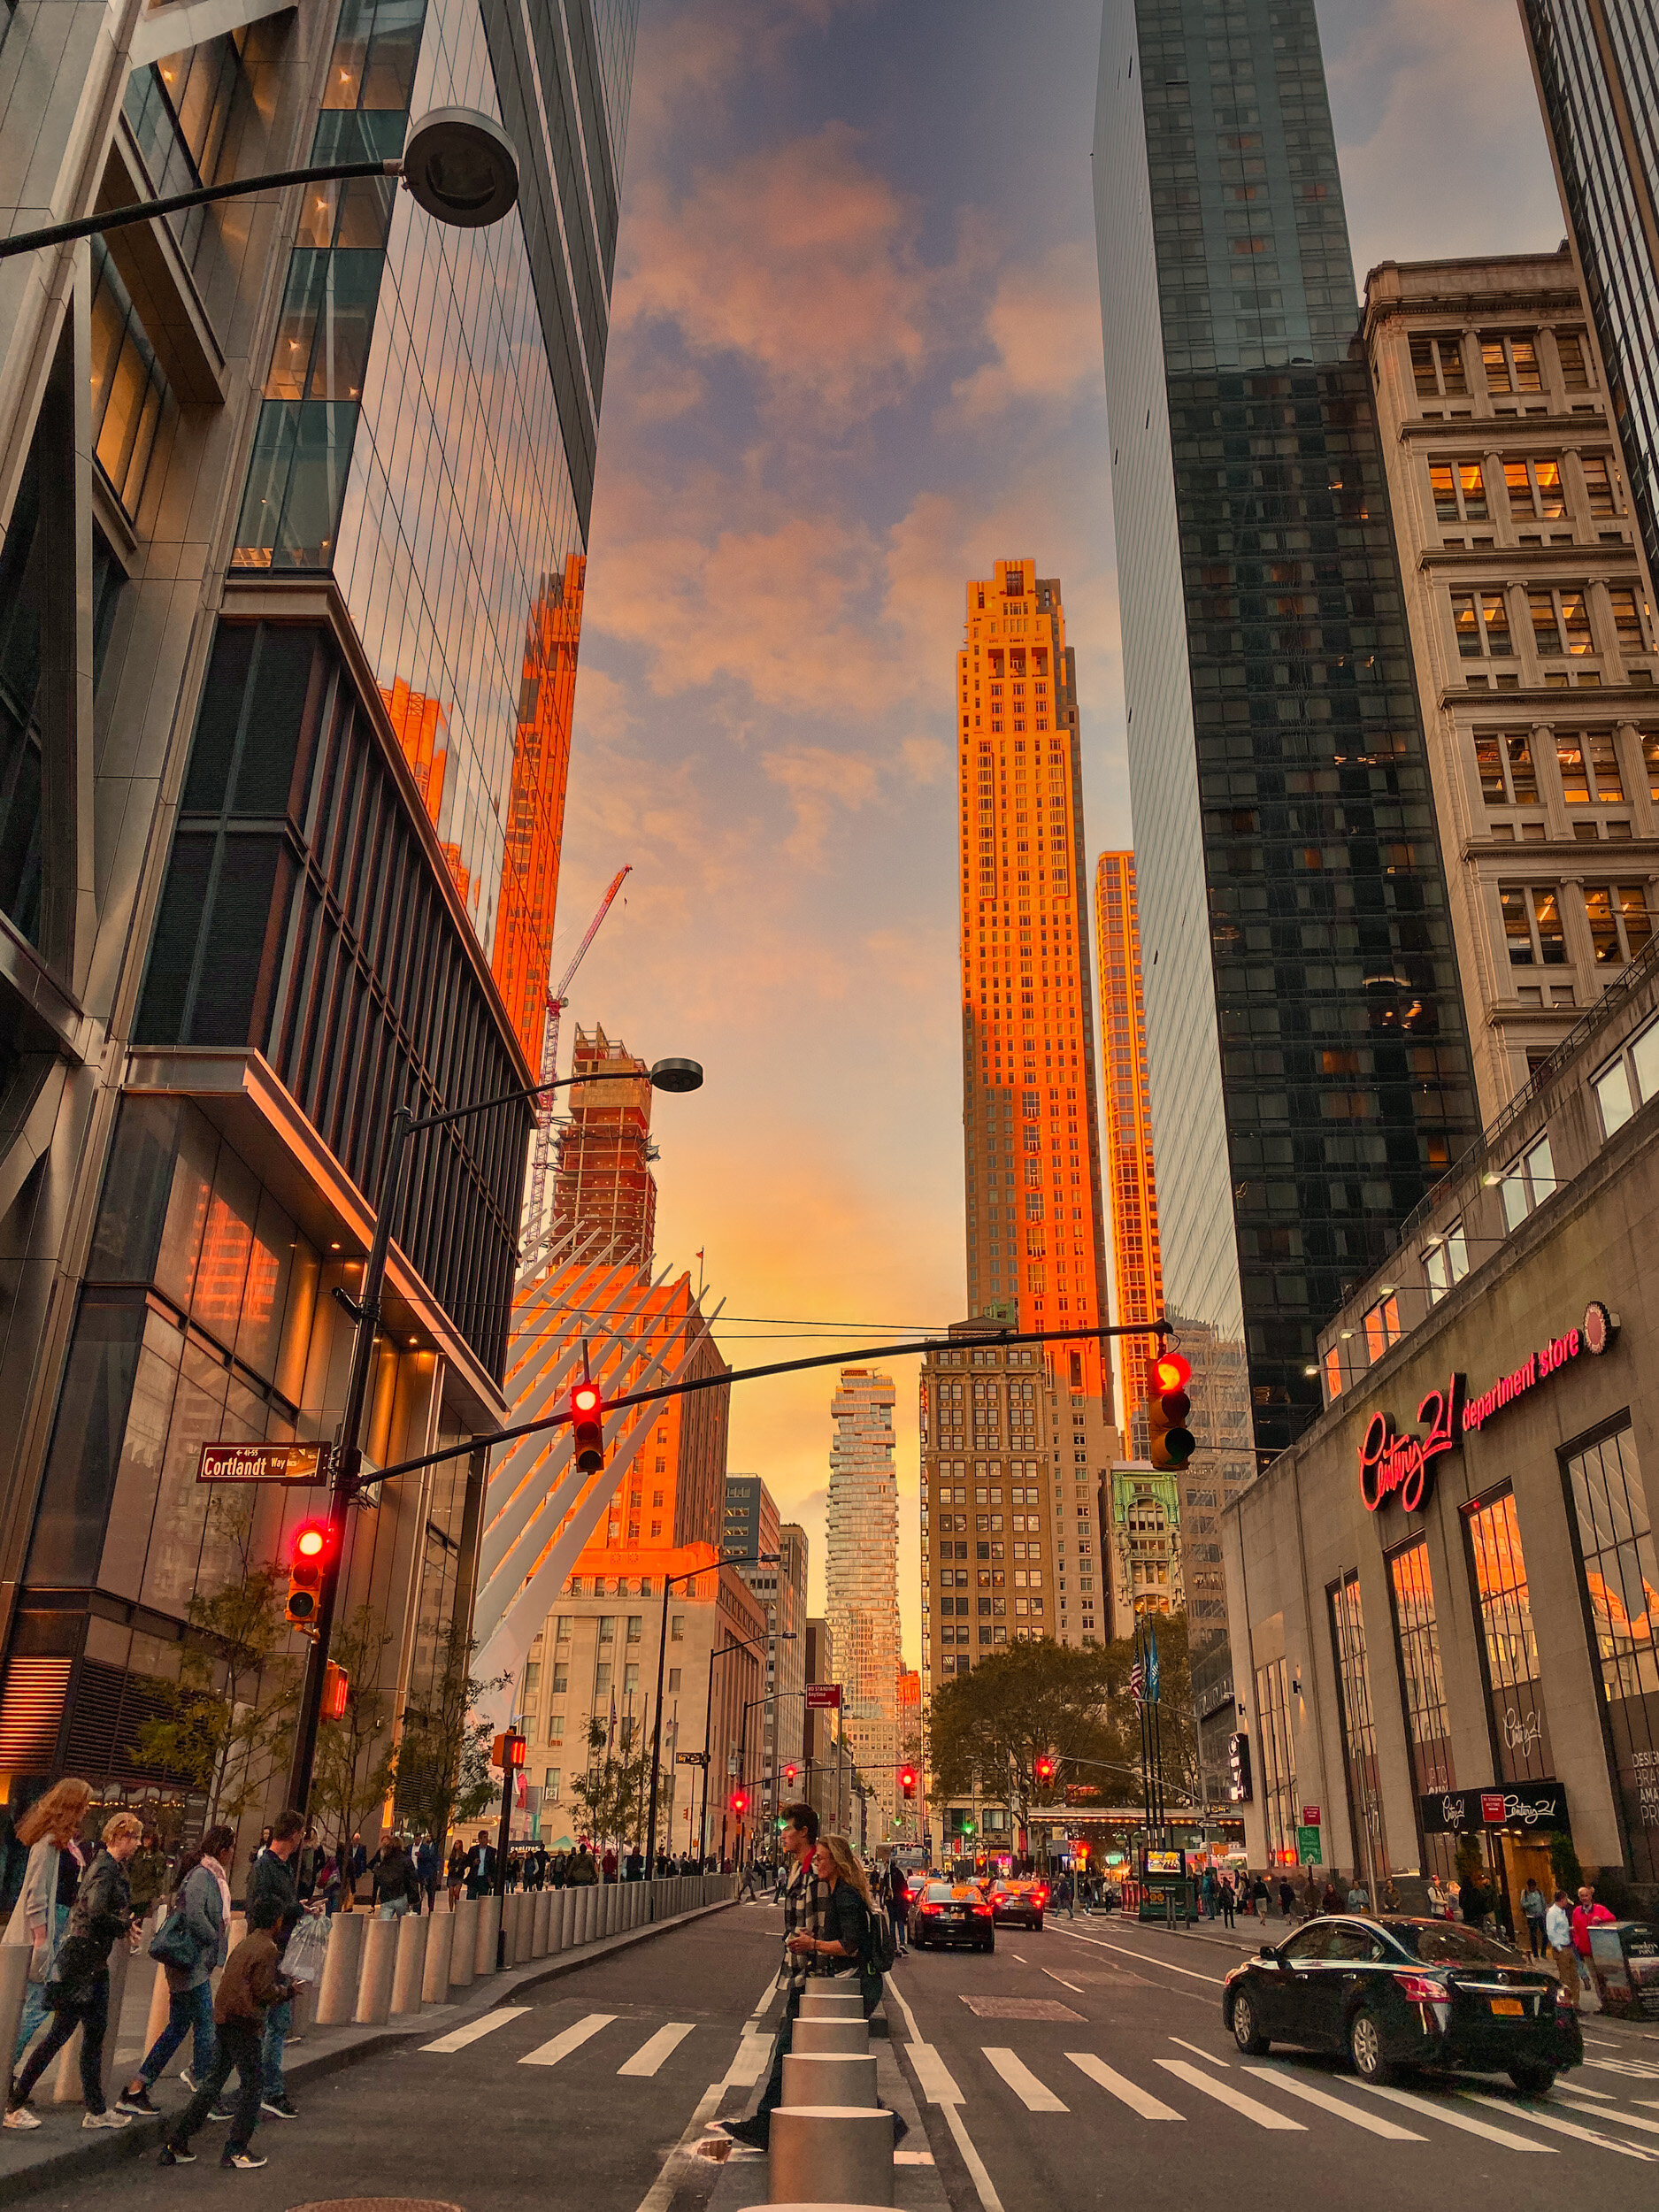
Most of the features on Luminar 4 are very similar to what Lightroom has. What sets it apart is their AI ability. The AI sky replacement feature is excellent! It was way beyond my expectation. Indeed, you shouldn't use it for journalism work, but it can certainly help to improve travel photos or daily out and about pictures that you want to post of social media.
Without going into details, I am going to leave you with some images I edited in Luminar 4. If you have any questions regarding my experience or you want to see me edit certain pictures, leave a comment, and I will get back to you soon!

Before

After

Before
After

Before

After